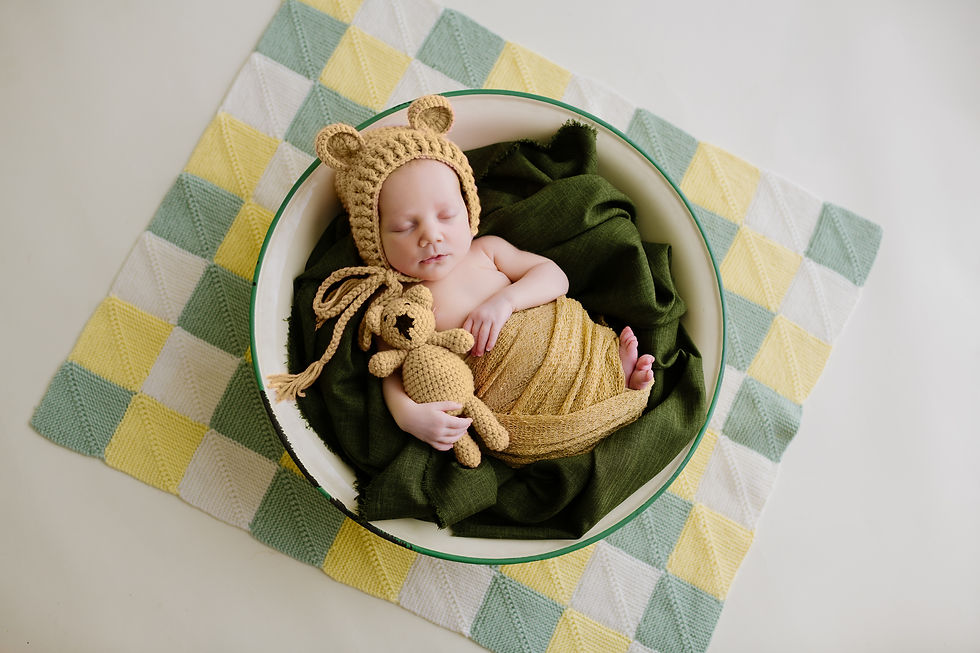
Compositing for Newborn Photography
- Jan 3, 2019
- 2 min read
Have you ever looked at newborn photography images and wondered how on earth they’ve managed to get a baby in a complex position? Chances are they’ve used a Photoshop technique called compositing – where 2 or more images are stitched together to make one image.
Why is compositing important in newborn photography?
The most important reason all baby photographers should be using compositing is simple – NEWBORN SAFETY! The safety of the little people you are photographing should always be your number one priority. Some popular images look very cute, but they’re not at all realistic (or safe!) to capture as they appear.

Compositing for beginners
With some fairly basic Photoshop skills, it’s quite easy to use compositing to create a beautiful image. The most important element for success comes at the time of taking the images. You need to ensure that you keep your camera positioned at the same angle for each of the separate images you will be compositing.

Photoshop for Composites
The skill required in Photoshopping a composite image might not be as complex as you might think. With only a basic level of Photoshop experience you can quite easily achieve a good composite image.
Step 1: Open the files up in Photoshop. You may have 2 or perhaps more images that you are wanting to use. Select which image is going to be your primary image (the image that already has the most detail you’re wanting to keep. In the above example, I used the image on the left as it was mostly what I was wanting to create for the final image).
Step 2: Using the lassoo tool, circle the area that you wish to overlay into the primary image. (Tip: select more than you perhaps are wanting to use in the final image. It is far easier to erase off extra image than to add it back in later). Copy the selection (Ctrl – C on PC or Command – C on Mac). Go back to the primary image and paste the selection (Ctrl – V / Command -V). The extra piece of the other image will now be added for you as another layer.

Step 3: Line up the new layer on to the primary image as closely as you can. (Tip: The best way to do this is to reduce the layer opacity to about 30% so that you can see the new layer as well as the primary image underneath). Once you are happy with the positioning of the new layer, use a layer mask and a soft black brush to paint off the layer around the edges to give it a soft blend into the primary image.
Voila!
Did this tip about how to composite images help you? I’d love to hear about it! Best wishes for 2019! Amy xx


Comments